The program does not require installation — simply download it from the Download section, extract the files, and run the application.
Rig And Log can also be easily moved to another computer, for example on a USB flash drive, together with the complete configuration, log files, and other data. Creating backups is equally straightforward.
Alternatively, a convenient installer is available in the Download section. The same section also contains additional information and recommendations regarding running downloaded files.
The minimum required screen resolution is 1280×720, but Full HD (1920×1080) or higher is recommended.
The application requires .NET Framework 4.7.2. If it is not installed, an appropriate dialog will appear during startup, allowing it to be downloaded.
The program runs on Windows 7 and newer, and also on Linux. Instructions for installing and configuring the application on Linux can be found here: Installation and configuration on Linux.
Rig And Log offers many features and can be used in various ways.
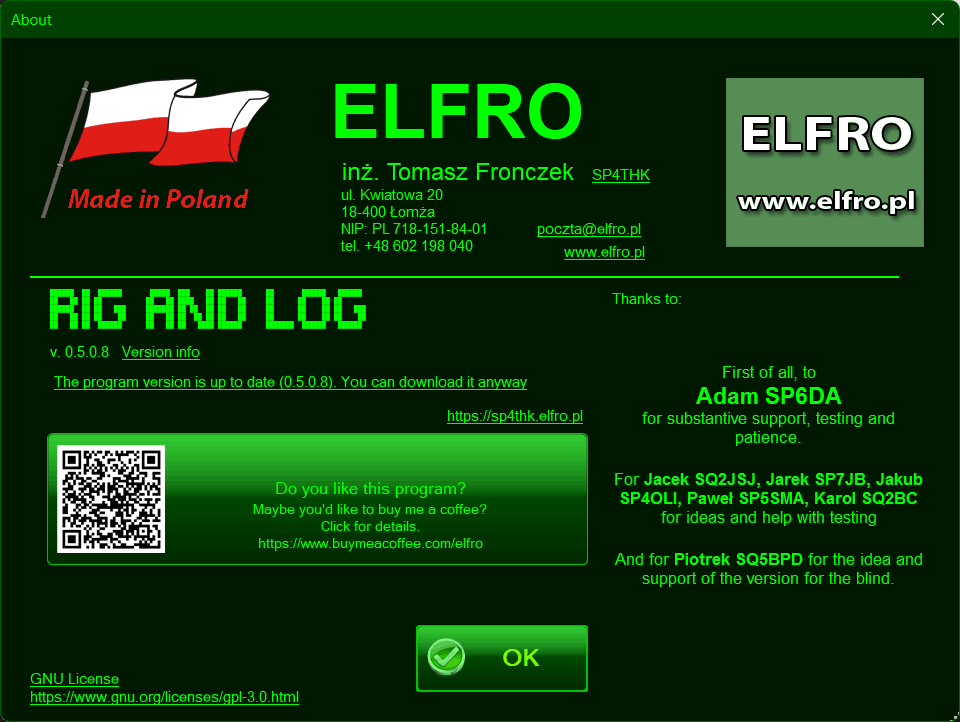
During the first launch, two windows will be displayed:
the first provides basic information about the program, and the second allows for very basic initial configuration.
The only required field is the Callsign.
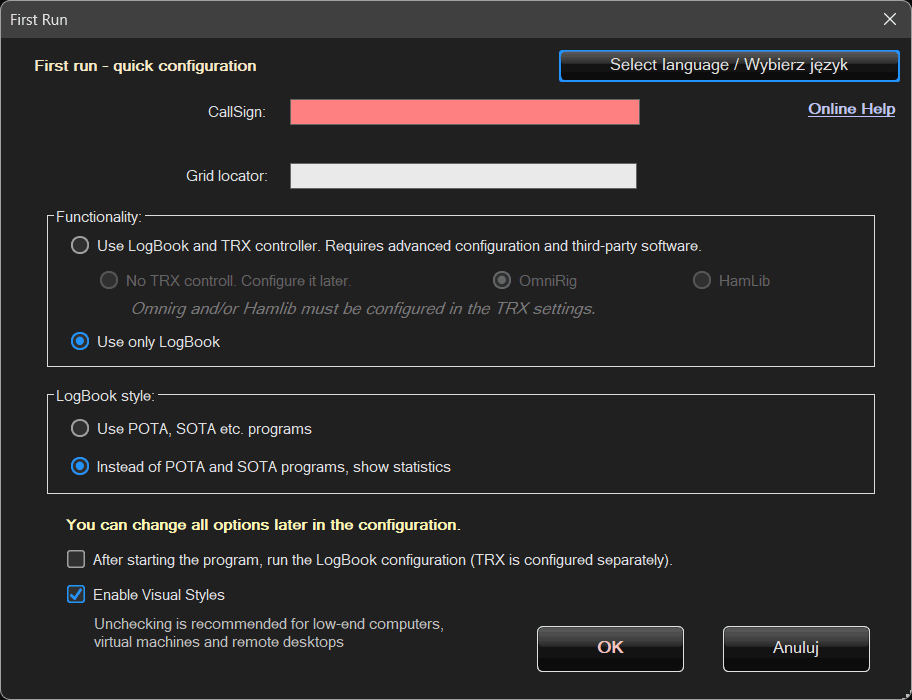
Other important options include whether the program will be used as a standalone Logbook, or whether you also want to control the radio (TRX).
By default — for simplicity, and for users who are not yet familiar with all options or just want to quickly test the program — the Logbook-only mode is enabled.
It is worth keeping this in mind.
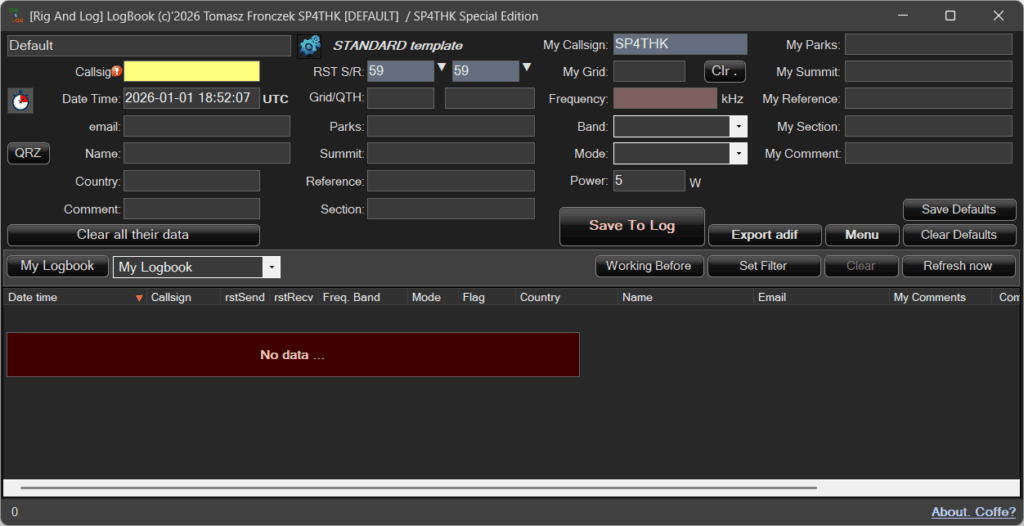
The second choice is whether you want to use POTA, SOTA, and other activation programs.
If not, instead of displaying fields that will never be used, the application can show QSO statistics. This option can be enabled here.
Next, you can decide whether you want to continue with full configuration after the program starts, and whether to use the visual style.
If you are using an older or low-performance computer, working via remote desktop, or running the application on Linux using Wine, it may be worth considering disabling the visual style.
Click OK to continue.
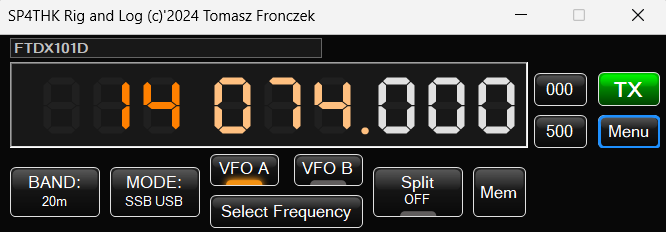
If the option Use Logbook and TRX control was selected, the main window that opens automatically is the Transceiver Control window.
The program works with two widely used applications:
OmniRig – available for download from:
https://www.dxatlas.com/omnirig/
Hamlib – available for download from:
https://sourceforge.net/projects/hamlib/
Files from both projects are included with the program and are located in their respective directories within the application folder (hamlib_32, hamlib_64, and OmniRig).
After downloading, they must be configured to work with the radio equipment you are using.
If OmniRig is selected for rig control but is not installed, the program will display an error message when started with TRX control enabled. In this case, the program’s functionality will be limited.
However, access to the menu will still be available, allowing the application to be configured to work as a Logbook-only. It will also be possible to configure and select OmniRig or Hamlib for rig control.
A warning window will be displayed:
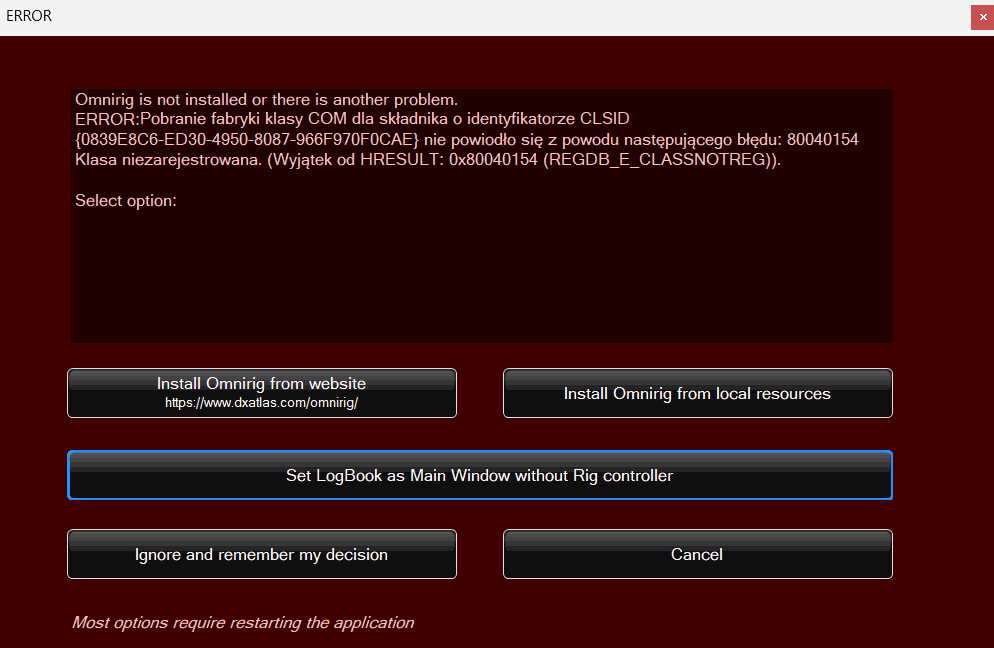
Several options shown above can be selected here.
It is recommended to restart the program afterwards.
From the TRX (RIG) Control window, the Logbook window can be opened via the menu.
If you want the Logbook to be the default window and do not plan to control the transceiver, this behavior can be changed in the Logbook window options.
Additionally, the program can be started using command-line parameters:
RigAndLog_SP4THK.exe /RIG – standard default startup
RigAndLog_SP4THK.exe /LOG – Log is launched by default
RigAndLog_SP4THK.exe /blindMode – by default, RIG starts and the blind option is enabled, unless the above error occurs.
These three options are already defined in bat files:
AutoRigMode.bat
AutoLogMode.bat
AutoBlindMode.bat
Simply select the appropriate file to start the program in the desired mode.
Omnirig has settings to connect up to two devices. Each device has its own independent RIG1 and RIG 2 settings
You must configure the settings in Omniring accordingly. If your transceiver is not on the list, try choosing a similar one from the same manufacturer.

Some transceivers, for example ICOM radios, use identification values for communication — a Radio ID and a Computer (Controller) ID.
For safety and compatibility reasons, it is recommended to leave these values at their factory defaults. OmniRig will not connect if non-standard IDs are used.
These values can be changed manually in OmniRig configuration files (.ini), but this is not recommended unless you know exactly what you are doing.
If you select a different transceiver model because your exact model is not available in the list, make sure to also verify the ID addresses.
This also applies to Rig And Log. However, in this application both IDs can be configured directly from the user interface, without manually editing .ini files.
This configuration is local to Rig And Log and is not visible to OmniRig.
All three locations — the radio device, OmniRig, and Rig And Log — must use identical ID values for communication to work correctly.
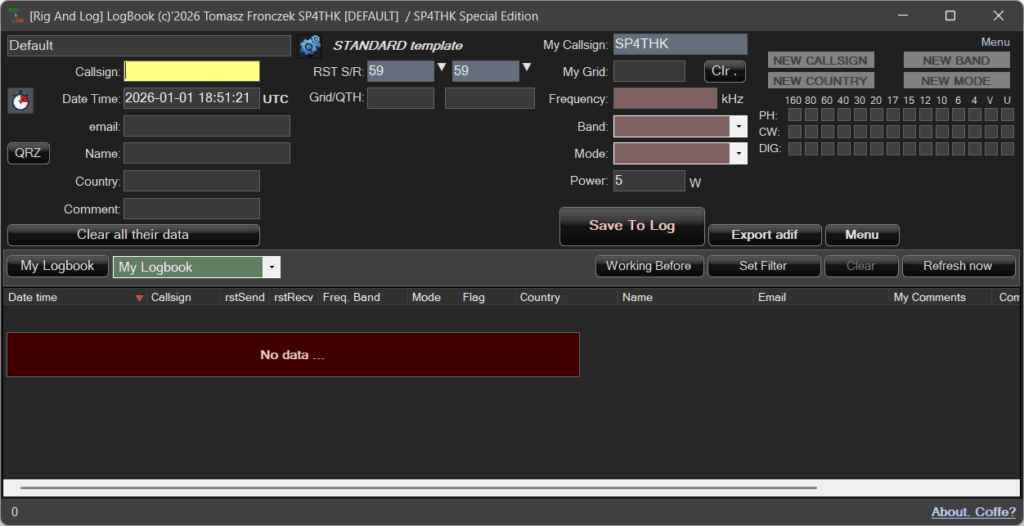
If cooperation with a transceiver was not selected, the Logbook will be the main application window.
Its appearance will vary depending on the visual style selected in the configuration dialog.