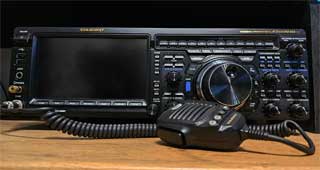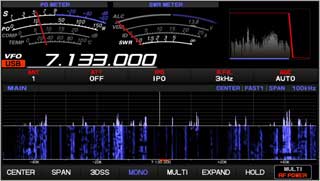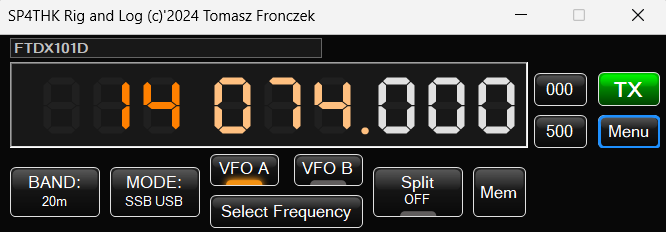
The first key is the BAND button, and in the blind mode it is the previously mentioned button with information about the frequency for the blind, and BAND is the second one. CTRL – B shortcut.
After clicking, a window with buttons appears with a selection of options. These are numbered keys depending on the options and their number with numbers or numbers and letters.
The next option is MODE shortcut – CTRL–M – here you can choose between CW, SSB, AM, FM and DIGI modulations. The style of the option selection window is the same as in the BAND option. And it looks like this:
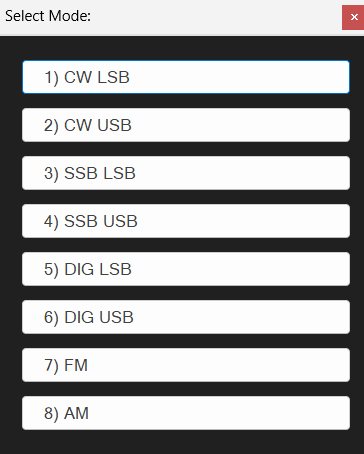
In windows of this type, options are selected by clicking the button or selecting the appropriate key 1,2,3…. or if there are more options, also the letters A,B,C….
The next two buttons are the choice between VFO A and VFO B. Just click on them. In the option for the blind, they turn into one Select VFO button. Shortcut CTRL – V. Once selected, there are two options to choose from
A) VFO A
B) VFO B
This creates a nice set of shortcuts – CTRL -V CTRL-A selects VFO A and similarly with B
The next button is Select frequency. After clicking it, a window will appear:
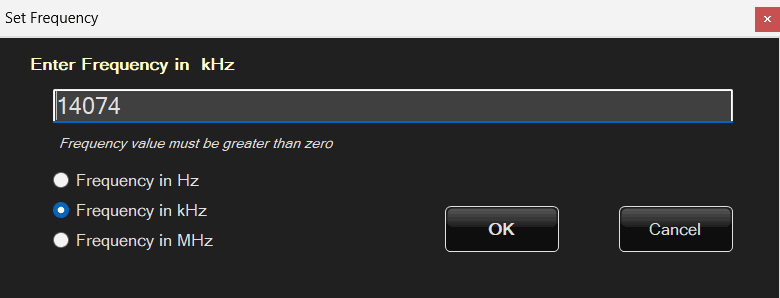
The frequency entry window appears in multiple places. Wherever you can enter a frequency. For example, in advanced TRX control when configuring various filters.
The frequency can be entered in Hz, kHz or MHz by clicking the mouse in the checkbox or using a keyboard shortcut:
CTRL – 1 or CTRL – H for Hz
CTRL – 2 or CTRL – K for kHz
CTRL – 3 or CTRL – M for MHz
By default these are kHz but the program will remember this selection. Sometimes the frequency selection window does not have the option to change from Hz to kHz, etc. This happens, for example, in filters where the frequency is only in Hz. For example, from 0 to 3000 Hz.
F2 key – for starters, i.e. sets the current control in the text field for entering the frequency
CTRL – DEL – deletes the frequency value
ENTER – Accep
ESC – Cancel
The entered frequency must be a number and greater than 0. The exception is the case of filters when the frequency, e.g. Shift, can be negative. If there is something wrong with the number, an inscription will be displayed and in the blind mode there will be an additional beep and the text field will be selected.
Split button
CTRL-S, i.e. work with frequency shift. There are many types of frequency shifting work, e.g. Split, RIT, XIT, they differ in principle and scope of operation, but the end result is the same – transmitting is on a different frequency than receiving. During trials and tests, I noticed that these functions implemented in Omnirig work differently, to say the least. So I decided to do all the options in one.
Split always sets VFO A to receive and VFO B to transmit.
There are several options here:
0. Split OFF
1. Split Manuals
2. Split +/-5kHz program
3. Split +/-10kHz prog.
4. Split – select offset
In manual mode, each frequency is then set separately by switching between VFO A and B.
You can set quickly defined Splits of +/- 5 or 10 kHz or choose your own frequency value. Due to the different operation of the options with different radios, the split is implemented in software. Changing the frequency of VFO A in the program causes the same change to be saved in VFO B. But changing the frequency manually on the transceiver will not preserve the split parameters. To maintain the offset, frequency adjustment is required only in the program.
MEM button
after pressing it, a window with buttons for the stored frequencies appears:

There are 10 memory banks. Classically, the bank can be selected using the keys from 1 to 0, where 0 is 10 bank. To save the frequency, long-click on the selected memory bank.
Abbreviations:
CTRL SPACE or CTRL ENTER: save to the active memory bank.
CTRL C or CTRL D: delete data from the active memory bank.
ESC – close the window.
Subsequent buttons of the main window are not visible in blind mode, however their keyboard shortcuts work to provide options.
000 and 500 buttons – equalize the frequency after the decimal point 000- to equal kHz 500- to xxx.5kHz
TX button – turns on transmission
in Menu ->Interface settings we can choose how the TX button works
Transmit when pressed and stop transmitting when released. Then select the TX button->TX only when pressed option
or one press turns on the transmission and the other one turns it off.
If the transmission is too long – over 5 minutes, the program will automatically turn it off.
Broadcasting can also be turned on from the keyboard after selecting Menu->Interface settings->Configure hotkey to enable TX
A window with keyboard shortcut settings will appear:
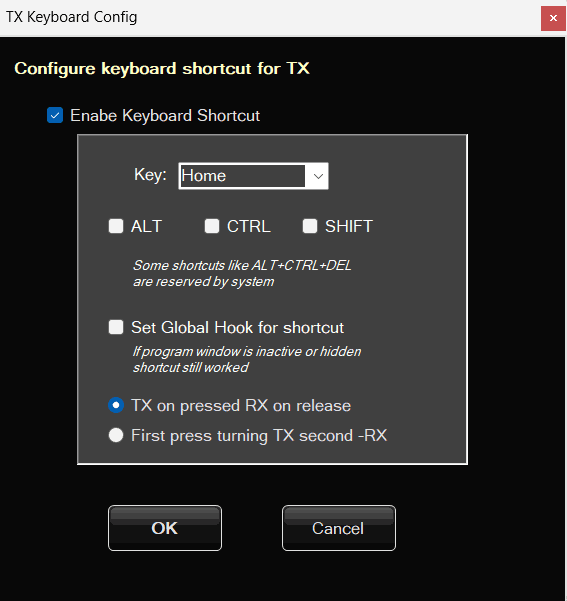
All options are simple and clear. When Global Hook is enabled, no matter what program is active, the keyboard shortcut will work.
When transmission is enabled in this mode and the option Subsequent presses switch TX/RX is selected, a window will appear in the upper right corner:

It informs that broadcasting is turned on, even though the main program is minimized and we might miss it.
Keyboard transmission is enabled automatically in the option for the blind


